A moment with six poses
A complete short practice for people who already know the poses. Preparation, both sides and a resting finish are included. Allow about 15 minutes and change steps at your own pace.
Use only shapes and adaptations you have already learned. Leave space around your mat and keep any supports within reach. Stop if you feel pain or dizziness. If standing balance or getting down to and up from the floor is difficult, adapt this practice with a qualified teacher. During pregnancy, or if you have an injury or health condition, discuss this practice with your health care provider and yoga teacher first.
Read the full practice guidance →This is Asanabit’s own selection. It does not follow the complete Ashtanga Primary Series or replace teaching in new poses. The clock shows time in the guide; it does not set hold times or practice speed.
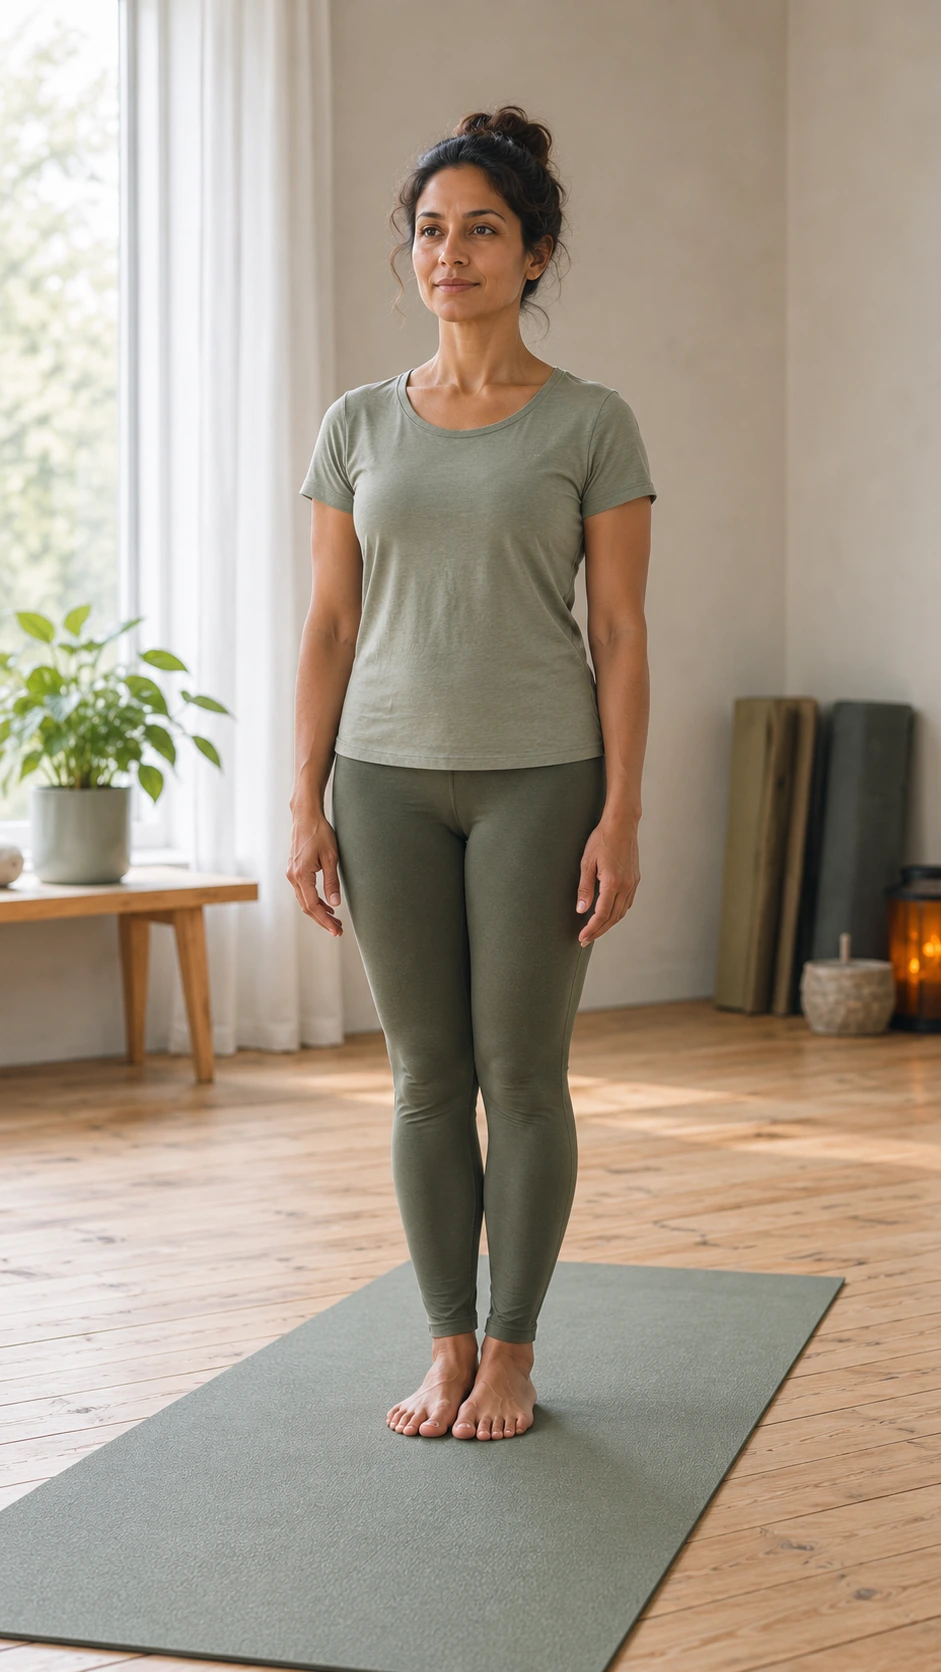
The image shows the shape of the pose. The same image supports the right and left sides; follow the side named in this step.
Take your practice with you
The guide has ended. You can return to the same familiar practice whenever you choose.
Membership lets you save your own selections and return to them on your other devices. Compare free access and membership →
The complete practice, step by step
Samasthiti · preparation
- Stand with your weight supported through both feet. Rest your arms and breathe normally.
- Begin by walking gently on the spot and softly bending and straightening your knees within a comfortable range. Return to standing still before continuing.
Utthita Trikonasana · right side
- Step your feet apart and turn the right foot outward. Use the foot placement you have learned. Move your torso to the right and place the right hand on a stable support if reaching the big toe is uncomfortable.
- Keep support through both feet. Look ahead or down if that is easier on your neck. Breathe without holding your breath. Return upright before changing sides.
Utthita Trikonasana · left side
- Turn your feet for the left side while standing upright. Move your torso to the left, using the same kind of hand support as on the first side.
- Choose a range that suits this side of your body; the depth need not be identical. Return upright and bring your feet together when ready.
Virabhadrasana B · right side
- Step apart again and turn the right foot outward. Bend the right knee in the same direction as the foot. Adjust stance and depth so the knee can stay above the ankle without turning inward.
- Keep your torso upright and extend your arms to the sides. Use a shallower knee bend or lower your arms if needed. Straighten the front leg and rest your arms before turning your feet.
Virabhadrasana B · left side
- Turn the left foot outward and bend the left knee along the direction of the foot. Share support between both feet and keep your torso upright.
- Breathe normally and reduce the depth if the effort becomes too great. Straighten the leg, lower your arms and bring your feet together before moving to sitting.
Dandasana · moving to sitting
- Lower yourself to sitting using your usual controlled route, with your hands or a stable support if needed. Do not jump between standing and sitting.
- Bring your legs forward and let your sitting bones take support. A folded support under your seat or slightly bent knees may make an upright torso easier. Rest your hands beside your hips; do not force your back straight.
Paschimottanasana · seated forward fold
- From Dandasana, move your torso forward within a range you can control. Keep your knees slightly bent if helpful. Rest your hands where they reach without pulling.
- The image shows a deep big-toe hold; you do not need to reach that shape. If you already use a strap, let it bridge the distance without pulling you further down. Return upright before lying down.
Savasana · rest
- Lie down with control and let the mat support your body. Use your usual support under the knees or head. Another resting position you have learned is also fine.
- Rest your arms and legs without trying to match the image’s exact spacing. Breathe normally and stay until you are ready to finish; there is no set time at which you must move on.
Finish at your own pace
- Begin with small movements of your hands and feet. Bend your legs if comfortable, turn onto your side and use your hands for support as you come up to sitting.
- Remain seated for a moment before standing. Use your usual support as you get up. Finish here rather than adding a harder pose to fill the available time.
The pose pages explain the shapes and their historical context. The older sources do not prescribe this short practice or its time frame. Sources and method →